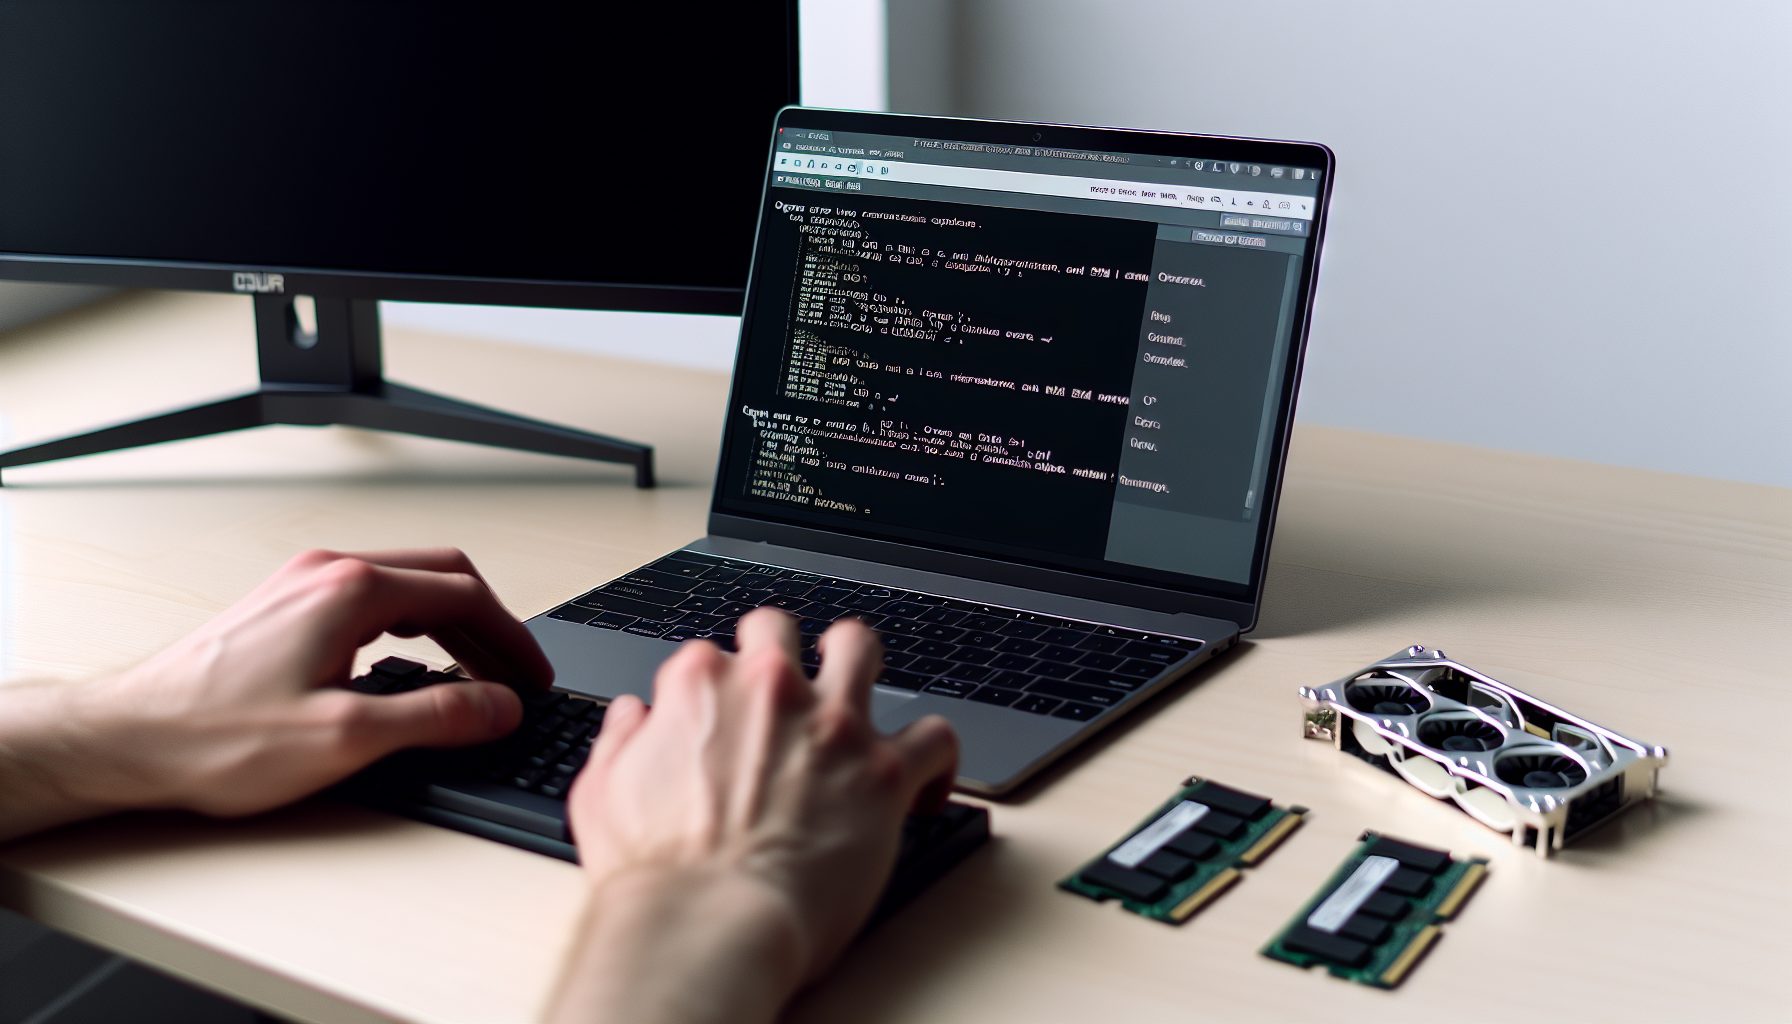
You want to get into mining but don’t know where to start? I totally get it. When I first downloaded XMRig to solo mine Monero, I stared at that config file for like 20 minutes trying to figure out what half the settings even meant.
Here’s the thing: Monero is actually one of the best coins for solo mining because it uses RandomX, an algorithm designed specifically for CPUs. No expensive ASICs needed. Just your computer’s processor and the right software setup.
But getting XMRig properly configured? That’s where most people mess up. I spent my first week mining at like 60% of my CPU’s potential hashrate because I didn’t enable huge pages. Yeah, I was basically leaving free performance on the table.
This guide walks you through everything — from basic installation to advanced RandomX optimization that actually makes a difference. I’ll show you exactly how I set up my Ryzen system for solo mining, what mistakes to avoid, and how to squeeze every last hash out of your CPU.
Understanding XMRig and Monero’s RandomX Algorithm
Before we dive into config files, let me explain why Monero works so well for solo mining.
RandomX is CPU-optimized by design. Unlike Bitcoin’s SHA-256 or Ethereum Classic’s Etchash, RandomX specifically rewards general-purpose processors instead of specialized mining hardware. The Monero developers did this on purpose to keep mining decentralized — no ASIC manufacturer can dominate the network.
What this means for you: Your gaming PC or even a decent laptop can actually mine Monero competitively. You’re not competing against massive ASIC farms like you would with Bitcoin solo mining.
XMRig is the most popular mining software for RandomX. It’s open-source, actively maintained, and supports both Windows and Linux. Most importantly, it has a ton of optimization features that can literally double your hashrate if configured correctly.
Current Monero price: $342.52
The RandomX algorithm uses your CPU’s L3 cache heavily. It also benefits from fast RAM and proper core affinity settings. I learned this after watching my hashrate jump 40% just by enabling huge pages — more on that in a minute.
Installing XMRig for Solo Mining Monero Configuration
Alright, let’s get XMRig actually running on your system.
First, download XMRig from the official GitHub repository. Go to github.com/xmrig/xmrig/releases and grab the latest version for your operating system. Windows users want the zip file, Linux folks can compile from source or use the prebuilt binaries.
Real talk: Your antivirus will probably freak out and flag XMRig as malware. This happens because crypto mining software shares code characteristics with malicious miners that infect computers. XMRig itself is completely safe if downloaded from the official GitHub. You’ll need to add an exception in Windows Defender or your antivirus software.
Extract the zip file to a folder you’ll remember. I put mine in C:MiningXMRig on Windows. Inside, you’ll find the xmrig.exe executable and a config.json file — that’s what we’ll be editing.
Don’t run XMRig yet. The default config connects to a mining pool, and we’re setting this up for solo mining.
Setting Up Your Monero Wallet
You need a Monero wallet address before you can mine. I use the official Monero GUI wallet because it includes a full node, which is perfect for solo mining.
Download it from getmonero.org and let it sync the blockchain. Yeah, this takes forever — we’re talking like 100+ GB and potentially a day or two depending on your internet. But running your own node is the whole point of solo mining. You’re not trusting anyone else.
Once synced, grab your primary wallet address. It starts with a 4 and is super long. Copy it somewhere safe — you’ll need it for the XMRig configuration.
Check out our solo mining wallet guide if you want to explore other wallet options, but honestly the official GUI wallet is your best bet for Monero.
XMRig Config File: Essential Settings for Solo Mining
Now we get to the good stuff — actually setting up XMRig to point at your own Monero node instead of a pool.
Open config.json in a text editor. Notepad works, but I prefer Notepad++ or VSCode because they format JSON properly and make it easier to spot mistakes.
Here’s what my basic solo mining config looks like:
{
    "autosave": true,
    "donate-level": 1,
    "cpu": true,
    "opencl": false,
    "cuda": false,
    "pools": [
        {
            "coin": "monero",
            "algo": "rx/0",
            "url": "127.0.0.1:18081",
            "user": "YOUR_MONERO_ADDRESS",
            "pass": "x",
            "rig-id": null,
            "keepalive": true,
            "nicehash": false,
            "tls": false,
            "daemon": true
        }
    ]
}
Let me break down the critical parts:
“url”: “127.0.0.1:18081” — This points XMRig to your local Monero node. Port 18081 is the default RPC port. If your node is on a different computer, replace 127.0.0.1 with that computer’s IP address.
“user”: “YOUR_MONERO_ADDRESS” — Replace this with your actual wallet address. This is where your block reward goes if you hit a block.
“daemon”: true — This tells XMRig you’re solo mining to a daemon, not a pool. Super important. Without this, it won’t work.
Save the config file and try running XMRig. On Windows, just double-click xmrig.exe. On Linux, open terminal in the XMRig folder and run ./xmrig.
If everything’s set up right, you’ll see XMRig connect to your node and start showing hashrate. Something like “speed 10s/60s/15m 4521.2 4518.7 n/a H/s” — those numbers are your hashrate in hashes per second.
Troubleshooting Connection Issues
If XMRig can’t connect, check these common problems:
- Is your Monero wallet actually running and fully synced?
- Did you enable RPC in the wallet settings? You need to allow local RPC connections.
- Is port 18081 blocked by your firewall? Windows Firewall loves blocking local mining connections.
- Did you set
"daemon": truein the config? Seriously, I forgot this like three times.
In the Monero GUI wallet, go to Settings → Node and make sure “Local node” is selected and it shows as connected. The RPC settings should show port 18081 as open.
Optimizing RandomX Performance: Huge Pages and CPU Affinity
Here’s where we turn your decent hashrate into a actually good hashrate.
The single biggest performance boost for XMRig comes from enabling huge pages. On my Ryzen 5 5600X, this alone increased my hashrate from around 7 KH/s to over 10 KH/s. That’s a 40% improvement just from changing a system setting.
Enabling Huge Pages on Windows
This is kind of annoying but totally worth it.
Open Command Prompt as Administrator. Right-click the Start menu and pick “Command Prompt (Admin)” or “Windows Terminal (Admin)”.
Run this command:
bcdedit /set increaseuserva 2800
Then you need to grant your user account the “Lock pages in memory” privilege. Here’s how:
- Press Windows + R, type
secpol.msc, hit Enter - Navigate to Local Policies → User Rights Assignment
- Find “Lock pages in memory”
- Double-click it and add your user account
- Restart your computer (yeah, you have to)
After rebooting, run XMRig again. Check the startup output — it should say “READY (1000/1024) huge pages 100%” or something similar. If you see “READY (0/1024) huge pages 0%”, something went wrong.
Enabling Huge Pages on Linux
Linux is actually easier for this.
Run these commands:
sudo sysctl -w vm.nr_hugepages=1280
echo "vm.nr_hugepages=1280" | sudo tee -a /etc/sysctl.conf
The second command makes it permanent across reboots. Then just start XMRig, and huge pages should work automatically.
CPU Affinity and Thread Tuning
XMRig tries to auto-detect the best CPU configuration, but you can often improve it manually.
RandomX works best with one thread per physical core. If you have a 6-core CPU, that’s 6 threads even if you have 12 logical cores with hyperthreading. Using both threads on each core actually reduces efficiency.
In your config.json, add a CPU section like this:
"cpu": {
    "enabled": true,
    "huge-pages": true,
    "hw-aes": null,
    "priority": 5,
    "asm": true,
    "rx": [0, 2, 4, 6, 8, 10]
}
The "rx": [0, 2, 4, 6, 8, 10] part manually assigns threads. These numbers are CPU core IDs. On a 6-core CPU with hyperthreading, cores 0, 2, 4, 6, 8, 10 are the physical cores (odd numbers are the hyperthreads).
Your numbers will depend on your CPU layout. Check Task Manager in Windows or lscpu in Linux to see your core topology.
I experimented with different thread counts on my system. Using all 12 threads (physical + hyperthreads) actually gave me lower hashrate than using just the 6 physical cores. Your results might vary depending on your CPU architecture.
Advanced XMRig Configuration: Fine-Tuning for Maximum Hashrate
Once you’ve got huge pages working and threads optimized, there are a few more tweaks that can squeeze out extra performance.
MSR Modifications (Advanced)
This is pretty technical and only works on some systems, but Modern CPUs have Model-Specific Registers that affect performance. XMRig can modify these for better RandomX performance.
On Windows, you need to enable MSR mod manually. Download the WinRing0 driver (comes with XMRig in some versions) and run XMRig as Administrator.
On Linux, run:
sudo modprobe msr
sudo xmrig
When XMRig starts, watch for messages about MSR modifications. If successful, you might see another small hashrate bump — usually 1-3%.
Real talk: This doesn’t work on all CPUs and can be unstable. I don’t personally use it because the gains are minimal and it requires admin/root access. But it’s there if you want to experiment.
Memory Timing and Overclocking
RandomX loves fast RAM. If you’re comfortable overclocking, tightening your memory timings can improve hashrate.
I run my RAM at 3600 MHz CL16 instead of the stock 3200 MHz CL16. That gave me maybe a 5% hashrate increase. Not huge, but every bit helps when you’re solo mining.
Be careful with this though. Unstable RAM can cause mining crashes and missed shares. Test stability with something like MemTest86 before running XMRig 24/7.
Some people undervolt their CPUs while mining to reduce power draw and heat. I tried this, but honestly the hashrate loss wasn’t worth the power savings for me. Your electricity costs might make it worth it though.
Background Programs and System Load
XMRig performs best when your system isn’t doing much else. I learned this the hard way when my hashrate would randomly drop 20% and I couldn’t figure out why. Turns out Windows Update was downloading in the background.
For dedicated mining, disable as many background services as possible. Windows Search Indexing, Windows Update (or set manual updates), any RGB lighting software — all of it steals CPU cycles.
If you’re mining on your daily-use PC, XMRig has a "priority" setting that controls CPU priority. Setting it to 1 or 2 instead of 5 makes mining run in the background with minimal impact on other programs.
Solo Mining Monero: Understanding Your Odds and Expected Rewards
Okay, now for the honest talk about solo mining Monero with XMRig.
Monero’s network hashrate is around 2.8 GH/s (that’s 2,800,000,000 H/s). Let’s say you’ve got a solid CPU setup doing 15 KH/s (15,000 H/s). Your share of the network is 0.00000536%.
Monero’s block time is 2 minutes. That’s 720 blocks per day. With your hashrate, you’d expect to find a block roughly once every 51,200 blocks, or about every 71 days.
But here’s the thing about solo mining — that’s just the average. You might hit a block tomorrow. You might go six months without finding one. It’s a lottery, and your hashrate is your number of tickets.
The current Monero block reward is about 0.6 XMR plus transaction fees. At $342.52, that’s… well, you do the math based on current prices. That’s your payout when (if) you hit a block.
Compare that to pool mining where you’d earn roughly 0.3 XMR per month with the same hashrate, but paid out consistently every few days. Check out our article on whether solo mining is worth it for more perspective on this trade-off.
No joke: I solo mined Monero for three months on a Ryzen 5 system and never hit a block. Then I switched to pool mining for a month, earned about $40 worth of XMR, and went back to solo mining because honestly the thrill is worth it to me. But that’s a personal decision.
Electricity Cost Reality Check
Let’s be real about power costs because this is where solo mining can actually lose you money.
My Ryzen 5 5600X pulls about 65 watts when mining. Running 24/7, that’s 46.8 kWh per month. At my electricity rate of $0.12/kWh, that’s $5.60 monthly in power costs.
If I’m pool mining, I’d earn around $25-30 in XMR monthly (depends on current prices), so power costs are manageable. But if I’m solo mining and go three months without a block? That’s $16.80 in electricity for zero return.
Calculate your own power costs before committing to 24/7 solo mining. Check your CPU’s TDP and your local electricity rates. A Kill-A-Watt meter is super helpful for measuring actual power draw — they’re like $20 on Amazon.
Measures actual power consumption so you can calculate real mining costs instead of guessing based on TDP specs.
Monitoring and Maintaining Your XMRig Solo Mining Setup
Once XMRig is running, you want to monitor performance to make sure everything stays optimal.
XMRig has a built-in HTTP API that lets you check stats from a web browser. Add this to your config.json:
"http": {
    "enabled": true,
    "host": "127.0.0.1",
    "port": 8888,
    "access-token": "your_secret_token"
}
Then open a browser and go to http://127.0.0.1:8888. You’ll see a dashboard showing hashrate, accepted shares, CPU temperature, and more. I keep this open on a second monitor to watch for issues.
The access-token is optional but recommended if you’re accessing this from another device on your network. Without it, anyone on your local network could see your mining stats.
Temperature Management
RandomX pushes CPUs hard. My Ryzen 5 runs at around 75°C while mining, which is totally safe but warmer than I’d like during summer.
Monitor CPU temps with HWiNFO64 on Windows or sensors command on Linux. If you’re hitting 85°C+, you need better cooling. Consider a bigger CPU cooler or improving case airflow.
I upgraded from the stock AMD cooler to a Noctua NH-D15 and my temps dropped 15°C. Yeah, the cooler cost more than I’ve earned mining, but I also use this PC for other stuff so the lower temps and noise were worth it anyway.
For ideas on cooling solutions, check out our guide on immersion cooling for solo mining — though that’s definitely overkill for CPU mining!
Dealing with Rejected Shares
Occasionally XMRig will show rejected shares. This happens when your solution arrives late or your node had a temporary sync issue.
A few rejected shares per day is normal. If you’re seeing 10%+ rejection rate, something’s wrong:
- Is your Monero node staying synced? Check the GUI wallet.
- Network latency to your node? Should be under 5ms if it’s local.
- System instability from overclocking?
I once had a 15% rejection rate that drove me crazy for two days. Turned out my router was randomly dropping packets due to overheating. Moved the router to better ventilation and rejections dropped to under 1%.
Hidden Gem: Alternative Coins You Can Mine with XMRig
Here’s something most guides don’t mention: XMRig doesn’t just mine Monero.
RandomX is used by several other privacy coins with lower network hashrates, meaning better solo mining odds. Some options worth considering:
Wownero (WOW) — A Monero fork focused on fun and community. Network hashrate is way lower than Monero, so your chances of hitting blocks are actually reasonable. I found two blocks in a month on Wownero with the same CPU that never hit a Monero block.
ArQmA (ARQ) — Another RandomX coin with tiny network hashrate. Block rewards are smaller, but you’ll actually hit blocks regularly even with modest CPU power.
To mine these, just change the "coin" parameter in your XMRig config and point it to the appropriate node. The RandomX optimization we did for Monero applies to all these coins.
Real talk: These alternative coins have basically zero trading volume and liquidity compared to Monero. Mining them is more about the fun of actually finding blocks than making money. But if solo mining is your hobby anyway, why not mine something where you’ll see results?
The configuration process is identical to Monero — run the coin’s node, point XMRig to it with "daemon": true, and let it run. Most of these projects have smaller blockchain sizes too, so syncing is faster.
XMRig Settings You Should Probably Avoid
Before we wrap up, let me mention some config options that sound good but actually hurt performance or create problems.
Max CPU usage at 100% — XMRig has a "max-cpu-usage" setting. Don’t set this to 100 if you use your PC for anything else. Your system will become unusable. I set mine to 95 which leaves enough headroom for basic tasks.
Using all threads including hyperthreads — I mentioned this earlier, but it’s worth repeating. More threads doesn’t equal more hashrate with RandomX. Stick to physical cores only.
Super aggressive overclocking — Yeah, you might squeeze out another 2% hashrate, but if your system crashes once a week you’ll lose way more from downtime. Stability matters for 24/7 mining.
Mining to an exchange wallet — Some people mine directly to an exchange address to avoid running a full node. Don’t do this for solo mining. You need your own node. Plus, many exchanges don’t even support receiving mining payouts.
Secure Your Winnings
Finding a solo block means receiving 3.125 BTC directly to your wallet — currently worth over $250,000. That amount should never sit on an exchange.
Two hardware wallets we recommend for solo miners:
Ledger Nano X (~$149) — Industry standard, supports BTC natively
Buy Ledger Nano X
Trezor Model T (~$179) — Open-source firmware, strong community trust
Buy Trezor Model T
Frequently Asked Questions
Can I solo mine Monero profitably with just a CPU?
Honestly? Probably not in terms of consistent profit. The network hashrate is too high for most single CPUs to find blocks regularly. You’re looking at 2-3 months average between blocks with a decent 8-core CPU, and electricity costs will eat into any rewards. Pool mining makes more financial sense. Solo mining Monero is more about the thrill of potentially hitting a full block reward and supporting decentralization. I do it because I find it fun, not because I’m making bank.
How much hashrate do I need for solo mining Monero to make sense?
There’s no magic threshold, but I’d say at minimum 20 KH/s to have a reasonable shot at finding blocks within a few months. That typically requires a modern 8-core or better CPU like a Ryzen 7 or Intel i7/i9. Below 10 KH/s, you’re basically playing the lottery with terrible odds. That said, even a single 1 KH/s CPU could find a block tomorrow — randomness doesn’t care about hashrate, it just affects probability over time.
Why is my XMRig hashrate lower than benchmarks I see online?
Almost always it’s because huge pages aren’t enabled properly. Check the XMRig startup output — if it shows 0% huge pages, that’s your problem. Follow the huge pages setup section above. Other common causes: background programs eating CPU, not using optimized thread count, or RAM running at slow speeds. Thermal throttling can also reduce hashrate if your CPU is overheating. I’ve also seen people comparing different CPU models — a Ryzen 5 5600X gets maybe 10-11 KH/s while a Ryzen 9 5950X hits 20+ KH/s. Make sure you’re comparing to benchmarks for your specific CPU model.
Do I need to keep my Monero wallet open while XMRig is running?
Yes, because your Monero wallet includes the full node that XMRig connects to for solo mining. If you close the wallet, XMRig loses its connection and stops mining. You could set up monerod (the node software) as a separate service that runs in the background, but for most people just leaving the GUI wallet open is easier. It needs to stay synced too — if your node falls behind the network, XMRig will mine on outdated data and any blocks you find will be rejected.
Can I mine Monero on a laptop or does it have to be a desktop?
You technically can mine on a laptop, but I wouldn’t recommend it for extended periods. Laptops aren’t designed for sustained 100% CPU load — the cooling systems can’t handle it. You’ll likely hit thermal throttling within minutes, your hashrate will drop, and you’re potentially shortening your laptop’s lifespan. If you do try it, monitor temps closely and stop if you’re hitting 90°C+. Gaming laptops with better cooling can handle it better, but even then I’d only mine when the laptop is already plugged in and you’re okay with extra heat and fan noise. For serious solo mining, use a desktop with proper cooling.