Look, when I first started solo mining Bitcoin with an old S9, I was using the stock firmware. The thing was loud, hot, and honestly pretty inefficient. Then I discovered custom ASIC firmware for solo mining — and dude, it changed everything.
Custom firmware like Braiins OS+ and VNish can seriously boost your hashrate, let you overclock safely, and most importantly for us solo miners: eliminate or reduce pool fees. When you’re already playing the lottery trying to find a block, every little efficiency gain matters.
Real talk: Installing custom firmware on your ASIC can be intimidating. You’re basically replacing the brain of your miner. But once you understand the process, it’s actually pretty straightforward. And the benefits? Totally worth it for anyone serious about solo mining.
Why Custom ASIC Firmware Matters for Solo Mining
Here’s the thing about solo mining: you need every advantage you can get. When you’re competing against the entire Bitcoin network with your single ASIC, efficiency isn’t just nice to have — it’s everything.
Stock firmware from manufacturers like Bitmain or MicroBT is designed to be stable and safe. That’s cool and all, but it’s also conservative. They leave performance on the table because they need to work for everyone, everywhere, in every condition.
Custom firmware lets you push your hardware further. More hashrate means more lottery tickets per day. Better efficiency means lower electricity costs while you wait for that block. And some firmware options let you completely remove pool fees — which matters when you’re solo mining and want to keep 100% of your block reward.
The cool part is: modern custom firmware is surprisingly stable. We’re not talking about sketchy beta software anymore. Braiins OS+ has been around since 2018. VNish has millions of downloads. These are mature products.
Performance Gains: What to Actually Expect
I’ve tested this stuff personally. On my Antminer S9, switching from stock firmware to Braiins OS+ gave me about 8-12% more hashrate at the same power consumption. That’s like getting an extra miner for free.
On newer hardware like the S19 series, gains are smaller but still meaningful — usually 2-5% depending on your specific unit and overclock settings. Every TH/s counts when you’re solo mining.
Something most people don’t talk about: custom firmware also gives you way better monitoring tools. You can see individual chip temperatures, voltage levels, and detailed error rates. This helps you optimize for long-term stability, which is crucial for solo mining where uptime directly affects your block odds.
Step 1: Understanding Your Firmware Options
Before we get into installation, let’s break down your main options. Trust me on this: choosing the right firmware for your specific miner and goals matters way more than just picking the most popular one.
Braiins OS+ for Solo Mining
Braiins OS+ is my personal favorite for solo mining Bitcoin. It’s open-source, actively maintained, and designed specifically for serious miners who want control.
The autotuning feature is honestly incredible. Instead of manually adjusting every setting, Braiins automatically finds the optimal balance between hashrate, power consumption, and stability for your specific hardware. It runs tests over several hours and fine-tunes each chip individually.
For solo mining specifically, Braiins OS+ supports direct connection to your own Bitcoin full node using Stratum V2. This is huge for privacy and decentralization. You’re not relying on any third party — you’re truly mining solo.
Braiins charges a 2% dev fee by default, but you can disable it if you want. Without autotuning, there’s no fee at all. Considering the performance gains easily exceed 2%, I usually leave it enabled.
Compatible with: Antminer S9, S17, S19 series, and more. Check their website for your specific model.
VNish Firmware
VNish is popular in the Asian mining community and has some serious performance optimization. It’s particularly strong for overclocking older hardware like the S9 and getting extra life out of aging chips.
The interface is pretty straightforward, though not quite as polished as Braiins. What VNish does really well is offering different “modes” — you can switch between efficiency mode, balanced mode, and performance mode depending on your electricity costs and goals.
For solo mining, VNish works great with standard Stratum pools like solo.ckpool.org or K1Pool. It doesn’t have native Stratum V2 support yet, but it gets the job done.
VNish charges a 2.5% dev fee. Unlike Braiins, you can’t disable it — it’s baked into the firmware. Something to factor into your calculations.
Stock Firmware with Custom Pool Settings
Honestly? Stock firmware isn’t terrible if you’re just getting started with solo mining. You won’t get the performance gains, but it’s the safest option while you learn.
Every modern ASIC lets you configure custom pool URLs. You can point your stock firmware miner to any solo mining pool without touching the firmware at all. This works fine for testing the waters before committing to custom firmware.
In most cases, I recommend starting here if you’re new to both solo mining and ASICs. Get comfortable with the hardware first, then upgrade the firmware once you understand your setup.
Step 2: Backing Up Your Stock Firmware
Okay, this step is boring but super important. Before you flash any custom firmware, you need to back up your stock firmware. If something goes wrong, you’ll want to restore it.
Most ASIC manufacturers don’t make this obvious, but you can usually download your stock firmware from their support site. For Bitmain miners, go to their official website and look for “firmware downloads” — you’ll need your exact model and hardware version.
Write down these details from your miner’s web interface before doing anything:
- Model number and hardware version
- Current firmware version
- MAC address
- Current pool settings (so you can recreate them if needed)
Save all this info in a text file somewhere safe. I keep mine in a Google Doc so I can’t lose it.
Some custom firmware installers will automatically create a backup during the flash process. Braiins BOS+ Toolbox does this, which is pretty convenient. But don’t rely on it — make your own backup anyway.
Finding Your ASIC’s IP Address
You’ll need to access your miner’s web interface. If you don’t know its IP address, you can find it using network scanning tools like Angry IP Scanner or your router’s connected devices list.
Most miners use DHCP by default, so the IP address might change after reboot. I always set a static IP or DHCP reservation in my router for each miner. Makes life way easier.
Step 3: Installing Braiins OS+ (The Method I Use)
Alright, let’s actually install some custom firmware. I’m walking through Braiins OS+ because that’s what I use on my S19, and it’s honestly the most beginner-friendly option for solo mining.
Braiins offers three installation methods: SSH, SD card, and their BOS+ Toolbox software. The Toolbox is by far the easiest, especially if you’re not comfortable with command line stuff.
Using BOS+ Toolbox (Easiest Method)
Download the BOS+ Toolbox from the official Braiins website. It’s available for Windows, Mac, and Linux. The software is free and doesn’t require any sketchy permissions.
Open the Toolbox and it’ll automatically scan your local network for compatible ASICs. Pretty neat. You should see your miner pop up with its IP address, model, and current firmware version.
Select your miner, then click “Install Braiins OS+”. The software will ask you to confirm a few things:
- Whether you want to keep the default pool settings (say no if you’re solo mining)
- Whether to enable autotuning (I recommend yes)
- Whether to create a backup (definitely yes)
The installation takes about 5-10 minutes. Your miner will reboot a couple times. Don’t panic when the lights change colors or the fans spin up and down — that’s normal during the flash process.
Real talk: I was nervous as hell the first time I did this. My S9 was making weird noises and the dashboard was unreachable for like 3 minutes. But then it came back online with Braiins OS+ running perfectly. Trust the process.
Configuring Braiins OS+ for Solo Mining
Once installation is complete, access your miner’s new web interface. The default credentials are “root” with no password (you’ll be forced to set a password on first login, which is good security practice).
The Braiins interface looks way different from stock firmware. It’s cleaner and honestly way more informative. You’ll see detailed stats for each hashboard, chip temperatures, and power consumption broken down by board.
Navigate to the “Mining” tab. Here’s where you configure your solo mining setup. You have a few options:
- Point directly to your own Bitcoin full node (requires running your own CKPool instance)
- Connect to a public solo mining pool like solo.ckpool.org
- Use Stratum V2 if you’re running a compatible setup
I connect to solo.ckpool.org for simplicity. The pool URL is: stratum+tcp://solo.ckpool.org:3333
For the username, use your Bitcoin wallet address. This is where your block reward will be sent if you hit a block. The password can be anything — I just use “x”.
Make sure to set up a backup pool as well. If the primary pool goes down, your miner will automatically fail over. I use a second solo pool like 2Miners SOLO as my backup.
Enabling Autotuning
This is where Braiins really shines for solo mining. Go to the “Tuning” tab and enable autotuning. You’ll see a few preset modes:
- Efficiency mode (best J/TH, lower hashrate)
- Balanced mode (middle ground)
- Performance mode (maximum hashrate, higher power draw)
For solo mining, I usually run Performance mode. You want maximum hashrate to maximize your block odds. Unless your electricity costs are crazy high, the extra power draw is worth it.
Autotuning takes several hours to complete. The miner will test different voltage and frequency settings for each chip, measuring stability and efficiency. During this time, your hashrate will fluctuate a lot. That’s normal. Once it’s done, your miner will settle into optimized settings.
After autotuning finished on my S19, I gained about 3.5 TH/s — from 95 TH/s to 98.5 TH/s. That’s almost 4% more lottery tickets every single day. Over months of solo mining, that adds up.
Step 4: Installing VNish Firmware
If you’re running older hardware like an S9 or S17, VNish might be a better choice than Braiins. The installation process is pretty similar, though the interface is different.
Download the VNish firmware file from their official website. Make absolutely sure you download the correct version for your exact miner model. Flashing the wrong firmware can brick your ASIC. Not fun.
SD Card Installation Method
VNish primarily uses SD card installation. You’ll need a microSD card (8GB or larger) and a way to write the firmware image to it.
Use a tool like Balena Etcher to write the VNish image to your SD card. The process is straightforward — select the firmware file, select your SD card, click flash. Takes about 5 minutes.
Once the SD card is ready:
- Power off your ASIC completely
- Insert the SD card into the control board (usually near the Ethernet port)
- Power on the miner while holding the “IP Report” button
- Wait for the miner to flash the firmware from the SD card
The process takes 5-10 minutes. You’ll know it’s done when the miner reboots and starts mining normally. The fans will probably spin up pretty loud during installation — that’s normal.
Something that naturally depends on your setup: Some older S9 models have the SD card slot in weird locations. Check your specific model’s documentation if you can’t find it.
VNish Configuration for Solo Mining
Access the VNish web interface using your miner’s IP address. The default login is usually “admin” with password “admin” (change this immediately for security).
The interface is more basic than Braiins, but it gets the job done. Navigate to the “Miner Configuration” page to set up your solo mining pool.
Enter your solo pool details just like you would with stock firmware. For example, if you’re using WoolyPooly’s solo pool, you’d enter their stratum URL and your wallet address as the worker name.
VNish has preset overclocking profiles. You can choose between different modes depending on your goals. For solo mining, I recommend starting with “Normal” mode, then gradually testing higher performance modes if your cooling and power supply can handle it.
Step 5: Monitoring and Optimization
Okay, your custom firmware is installed and your ASIC is solo mining. Now comes the ongoing work: monitoring performance and optimizing for stability.
Custom firmware gives you way more data than stock firmware. This is both awesome and potentially overwhelming. Here’s what actually matters for solo mining:
Key Metrics to Watch
Hashrate stability is your number one priority. It doesn’t matter if your average hashrate is 100 TH/s if it keeps dropping to zero when chips overheat or crash. Consistent uptime means more chances to find that block.
Both Braiins OS+ and VNish show you 5-minute, 1-hour, and 24-hour average hashrate. Your 24-hour average should be very close to your target hashrate. If it’s significantly lower, something’s wrong — usually heat or unstable overclocking.
Chip temperatures matter more than you’d think. Modern ASICs can run pretty hot, but sustained temperatures above 80-85°C on chips will reduce lifespan and cause instability. If you’re seeing high temps, improve cooling or dial back your overclock.
Reject rate should be under 1% ideally. If you’re seeing 2% or higher, that means your ASIC is submitting invalid shares. For solo mining, this directly reduces your block-finding odds. Usually caused by aggressive overclocking or poor network connection.
The Reality of Uptime
Here’s something I learned the hard way: even 99% uptime means you’re offline for 3.6 days per year. That’s 3.6 days where you have ZERO chance of finding a block.
With custom firmware, I’ve achieved 99.8%+ uptime on my miners. The better monitoring tools help you catch problems before they cause crashes. Set up email alerts if your hashrate drops below a certain threshold — both Braiins and VNish support this.
I check my miners every morning and evening. Just a quick glance at the dashboard to make sure everything’s running normally. Takes 30 seconds per miner and saves me from discovering hours-long outages after the fact.
Step 6: Advanced Optimization for Solo Mining
Once you’ve got the basics dialed in, there are some advanced tweaks that can squeeze out even more performance for solo mining specifically.
Overclocking Beyond Presets
Both Braiins OS+ and VNish let you manually adjust frequency and voltage settings beyond their preset modes. This is where you can really optimize for your specific conditions.
In Braiins OS+, navigate to the “Tuning” tab and switch from “Preset” to “Manual” mode. You’ll see sliders for global frequency and voltage, plus the ability to adjust individual hashboards if one is running hotter or less stable than the others.
The cool part is: you can experiment without risk. If your settings are too aggressive, the miner will just crash and reboot with safe defaults. I’ve never bricked a miner from overclocking too hard — though I have definitely caused some frustrating crashes.
My approach: increase frequency by 25 MHz increments and test for 24 hours. If it’s stable with acceptable temperatures, increase another 25 MHz. When you find the point where it crashes or rejects increase significantly, dial it back by 50 MHz. That’s usually your sweet spot.
Undervolting for Efficiency
If electricity costs are your main concern, you can actually reduce voltage to save power while accepting slightly lower hashrate. This is called undervolting.
With Braiins OS+ autotuning in Efficiency mode, the firmware automatically finds the best undervolt settings for you. On my S19, this reduced power consumption by about 200W while only dropping hashrate by 2-3 TH/s. The efficiency gain was worth it during summer when A/C costs spike.
VNish also supports undervolting through their “Power Save” mode. It’s less sophisticated than Braiins’ autotuning, but still effective for cutting electricity costs.
Network Optimization
Something most guides don’t mention: network latency matters for solo mining. When you find a valid block, you want to submit it to the network as fast as possible. Every millisecond counts because someone else might find the same block.
Use a wired Ethernet connection for your miners. WiFi is convenient but adds latency and potential packet loss. For solo mining, you want the most direct, stable connection possible.
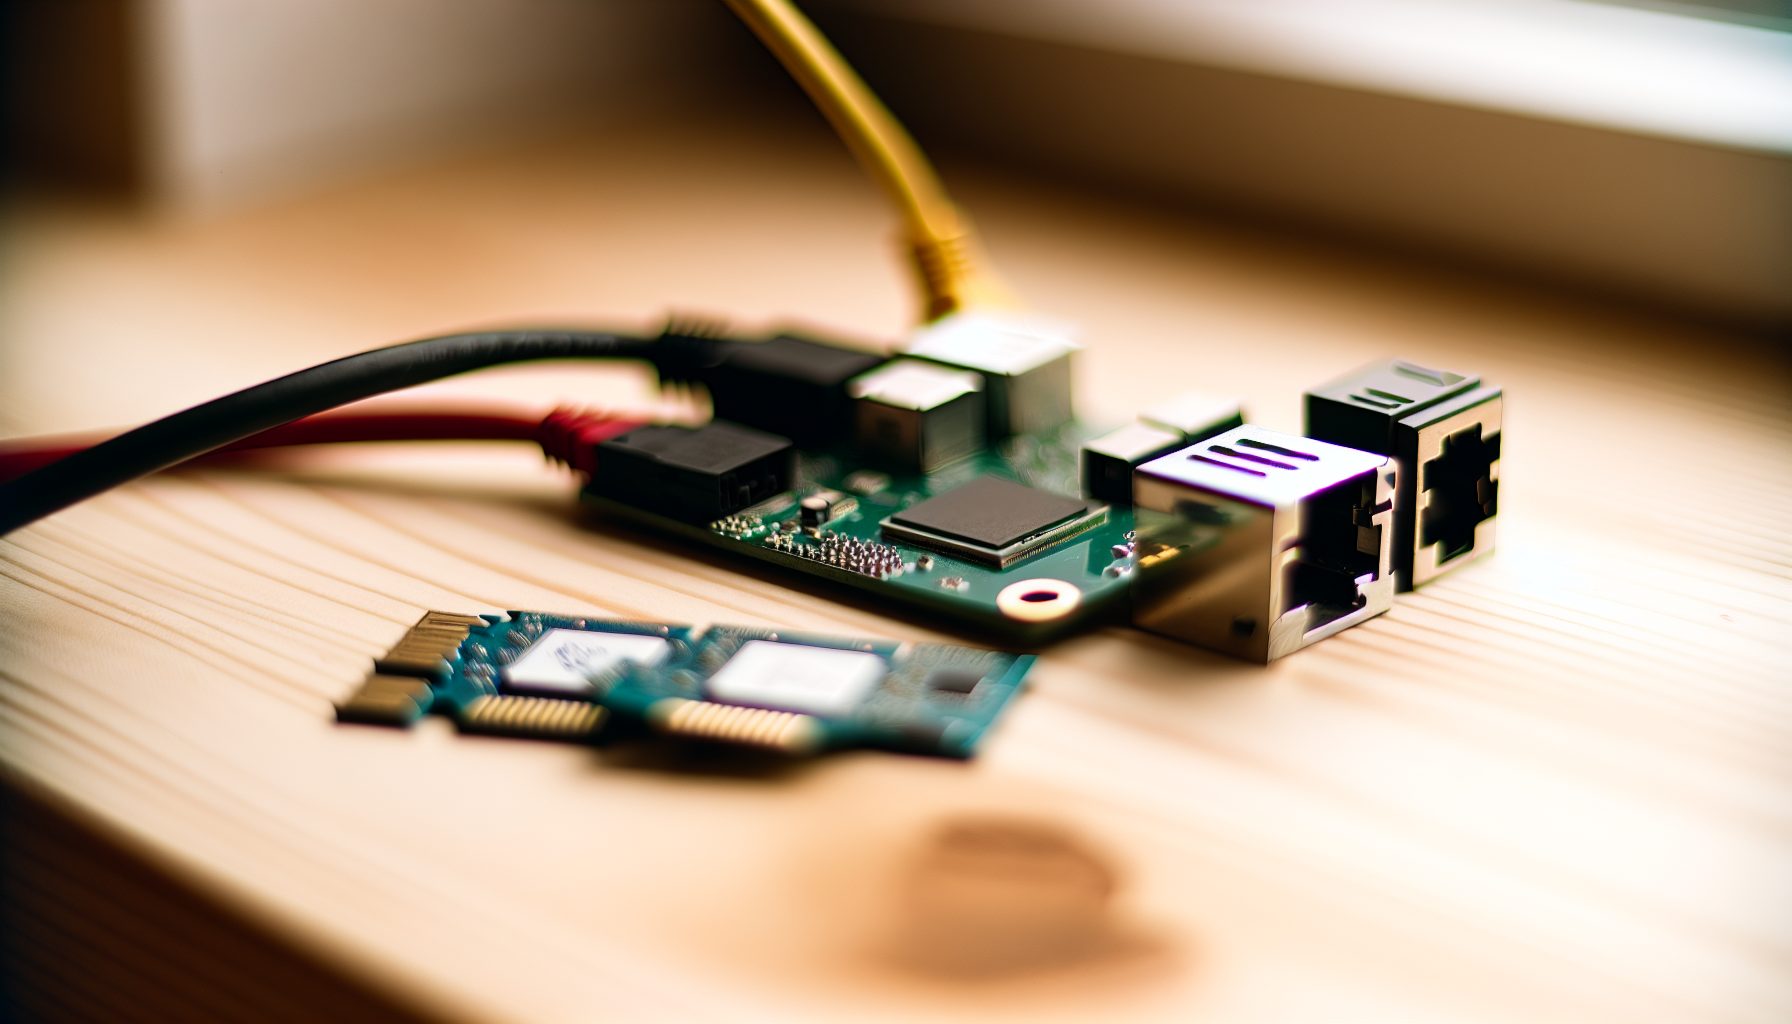
If you’re running your own full node for solo mining, keep it on the same local network as your ASICs. This minimizes latency between your miners and your node. I run my Bitcoin full node on a dedicated Raspberry Pi that’s literally sitting next to my mining rack.
Honest Assessment: Is Custom Firmware Worth It for Solo Mining?
Look, I’m gonna be real with you. Custom firmware isn’t for everyone, and it’s not a magic bullet that’ll suddenly make you find blocks.
The math is simple: if custom firmware gives you 5% more hashrate, that’s 5% better odds of finding a block. On an S19 doing 95 TH/s solo mining Bitcoin, your odds go from finding a block every ~40 years to every ~38 years. The improvement is real but incremental.
Where custom firmware really shines is the combination of benefits: more hashrate, better efficiency, lower fees, and improved monitoring. These stack up over time. If you’re serious about solo mining and plan to run your hardware for years, custom firmware is absolutely worth the installation effort.
That said, there are risks. Flashing firmware can occasionally brick your ASIC if something goes wrong during installation. It’s rare with mature firmware like Braiins OS+, but it happens. Always have a backup plan and don’t flash firmware on a miner you can’t afford to potentially lose.
Electricity Cost Reality Check
Custom firmware can improve efficiency, but it won’t magically make solo mining profitable if your electricity costs are too high. An S19 running at 3250W costs roughly $234 per month at $0.10/kWh. That’s before you find a single block.
At current Bitcoin network difficulty, that same S19 has about a 0.002% chance of finding a block each day. You’re spending thousands in electricity costs before likely finding your first block. Custom firmware reduces these costs by maybe 5-10%, which helps but doesn’t fundamentally change the economics.
This is why most solo miners do it as a hobby or “lottery ticket” rather than expecting steady profits. If you’re looking at solo mining as an investment, you need to be very honest about the math. Check out our ROI analysis for solo mining for the full breakdown.
Firmware Comparison: What I Actually Recommend
After running both Braiins OS+ and VNish for months, here’s my honest take on which to choose based on your situation:
Choose Braiins OS+ if:
- You’re solo mining Bitcoin specifically
- You want the best monitoring and control tools
- You care about open-source software and supporting decentralization
- You have S9, S17, or S19 series miners
- You might want to run your own full node with Stratum V2
Choose VNish if:
- You’re running older hardware like S9s and want maximum overclock
- You prefer simpler interfaces and don’t need advanced features
- You want preset modes rather than detailed tuning
- You’re mining altcoins where Stratum V2 isn’t relevant
Stick with stock firmware if:
- You’re brand new to ASIC mining and still learning the basics
- Your miner is under warranty (custom firmware usually voids it)
- You’re risk-averse and want maximum stability
- The 2-5% performance gain doesn’t matter for your specific setup
Personally, I run Braiins OS+ on all my miners now. The autotuning feature alone is worth it — I gained 3-4% hashrate on every single ASIC I’ve flashed. Combined with better monitoring and the ability to remove pool fees, it’s a no-brainer for serious solo mining.
Solo Mining Pool Recommendations with Custom Firmware
Once you’ve got your custom firmware dialed in, you need to point it at the right solo mining pool. Different pools have different features, and some work better with custom firmware than others.
For Bitcoin solo mining, solo.ckpool.org is my top recommendation. It’s been around forever, has rock-solid uptime, and charges zero fees. Works perfectly with both Braiins OS+ and VNish. The operator (ckpool) is a respected figure in the Bitcoin community.
If you want to solo mine altcoins, K1Pool supports 50+ different coins on one platform. Their infrastructure is solid and they have good documentation for connecting ASICs with custom firmware. I’ve used them for solo mining Litecoin and Kaspa.
For merged mining Litecoin and Dogecoin simultaneously, check out LiteSolo.org. You can earn block rewards from both chains while only running one ASIC. Pretty efficient way to solo mine if you’re targeting those coins.
Something to keep in mind: some solo pools have minimum hashrate requirements or charge fees. Always read the pool’s documentation before connecting. You don’t want to waste time and electricity on a pool that won’t pay out small miners.
Flagship Bitcoin ASIC with 110 TH/s hashrate and 3250W power draw. Works perfectly with Braiins OS+ for optimized solo mining. Best hardware for serious Bitcoin solo miners.
Classic Bitcoin miner with 13.5 TH/s. Perfect for learning custom firmware on affordable hardware. VNish and Braiins OS+ can boost this to 15+ TH/s with proper cooling.
FAQ: ASIC Firmware for Solo Mining
Does custom firmware void my ASIC warranty?
Yeah, unfortunately it does in most cases. Bitmain and other manufacturers explicitly state that using third-party firmware voids your warranty. That said, you can usually flash back to stock firmware before sending a miner in for service. The manufacturer won’t know you ran custom firmware unless you tell them or forget to restore stock firmware. If your miner is already out of warranty, this obviously doesn’t matter — flash away.
Can I switch back to stock firmware after installing Braiins OS+ or VNish?
Absolutely. Both Braiins OS+ Toolbox and VNish provide uninstall/restore functions. With Braiins, you can literally click one button in the Toolbox to flash back to stock firmware. VNish requires reflashing your original firmware image via SD card. As long as you backed up your stock firmware (which you should have done in step 2), restoring is straightforward. I’ve gone back and forth multiple times on my S9 for testing without any issues.
Will custom firmware increase my chances of finding a solo block?
Technically yes, but let’s be realistic about the numbers. If custom firmware gives you 5% more hashrate, you have 5% better odds of finding a block. That’s the honest math. On a single S19, your chances go from incredibly small to slightly less incredibly small. The real benefit is cumulative — better efficiency, lower costs, improved uptime, and that extra hashrate all stack up over months and years of solo mining. Custom firmware won’t turn you into a solo mining success story overnight, but it does optimize your lottery ticket odds.
What happens if firmware installation fails or bricks my ASIC?
Not gonna sugarcoat this — bricking your ASIC is possible but pretty rare with established firmware like Braiins OS+ and VNish. If installation fails mid-flash, your miner might not boot properly. In most cases, you can recover by reflashing firmware via SD card method, which bypasses the network-based installation. Worst case scenario, you may need to contact the firmware developer’s support (Braiins has responsive support channels) or potentially replace the control board. This is why backing up your stock firmware and understanding the recovery process before you start is super important. I’ve flashed probably 15 different miners at this point and never had a complete brick, but your mileage may vary.
Does custom firmware work with all ASIC manufacturers?
No, firmware compatibility is limited by manufacturer and model. Braiins OS+ primarily supports Bitmain Antminer models (S9, S17, S19 series being the most popular). VNish also focuses mainly on Bitmain hardware. If you’re running Whatsminer (MicroBT), Avalon, or other brands, your custom firmware options are more limited. Always check the firmware developer’s official compatibility list before attempting installation. Some manufacturers like Canaan have their own updated firmware that improves on stock, but they’re not as feature-rich as Braiins OS+. The Bitcoin ASIC market is dominated by Bitmain, which is why most custom firmware development focuses there.