TL;DR: HiveOS makes managing solo mining rigs simpler through remote configuration and monitoring. You can set up multiple GPUs, switch between coins, adjust overclocks, and monitor temperatures from any browser. This guide covers the technical setup for solo mining with HiveOS, including flight sheet configuration, custom miner installation, and connecting to your own node or stratum proxy. Important detail: HiveOS is not designed for solo mining by default — you need to configure custom settings that most tutorials skip.
When Hugo and I started solo mining with multiple GPU rigs in different locations, managing everything became complicated fast. SSH sessions to different mining PCs, manual config file edits, wondering if a rig went offline three hours ago. HiveOS solved most of these problems, but configuring it for solo mining required learning things the hard way.
Most HiveOS guides assume you’re pool mining. They show you how to connect to a pool in three clicks. Solo mining needs a different approach — you’re connecting to your own infrastructure, not someone else’s pool. The interface doesn’t make this obvious.
Why HiveOS Makes Sense for Solo Mining GPU Rigs
HiveOS is a Linux-based operating system built specifically for cryptocurrency mining. You flash it to a USB drive, boot your mining rig, and manage everything through a web dashboard. For solo miners, it offers three main advantages over Windows or manual Linux setups.
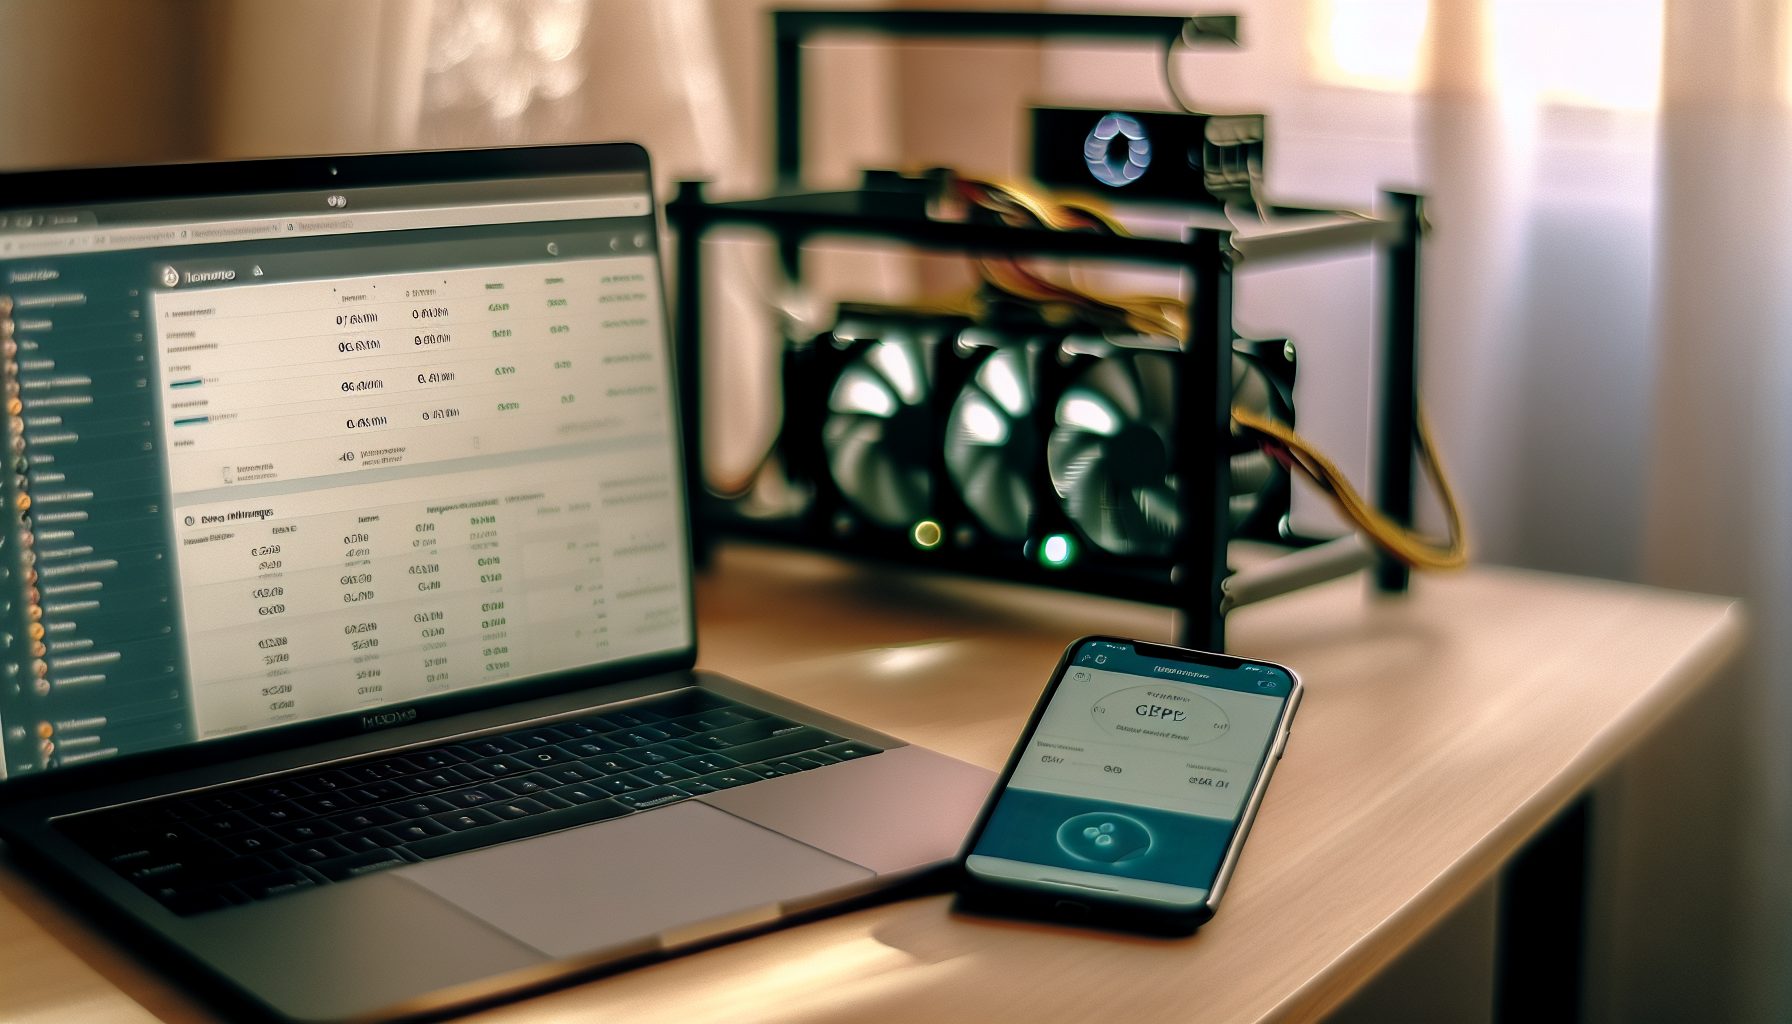
First, remote management from anywhere. Your rig could be in a basement, garage, or at a friend’s place with cheap electricity. You configure everything through the HiveOS dashboard — no need to physically access the machine or set up remote desktop software. When a GPU crashes or temperature spikes, you see it immediately on any device with a browser.
Second, consistent configuration across multiple rigs. If you’re running three rigs with 18 GPUs total, you create one flight sheet configuration and apply it to all workers. Change your stratum proxy address once, update all rigs in 10 seconds. This becomes more valuable as you add more hardware.
Third, detailed per-GPU monitoring and control. You see hashrate, temperature, power draw, and fan speed for each GPU individually. One card running hot? Adjust only that card’s fan curve. One GPU producing invalid shares? Check if it needs different memory timings. Windows gives you some of this through third-party tools. HiveOS builds it into the system.
The downside: HiveOS charges $3 per rig per month after your first rig. For solo miners with one or two rigs, that’s $36-72 yearly. That’s about 15-30 hours of electricity for a typical 6-GPU rig drawing 800W. You need to decide if the convenience justifies the cost. For me, it does — the time saved troubleshooting remote issues pays for itself.
Installing and Setting Up Your HiveOS Worker for Solo Mining
Download the HiveOS image from hiveos.farm and flash it to an 8GB+ USB drive using Etcher or similar software. The USB becomes your boot drive — your rig won’t need a hard drive or SSD, though you can install to an SSD if you prefer faster boot times.
Before first boot, you need to configure your rig ID and farm hash. Create a HiveOS account, navigate to your farm, and click “Add Worker”. The system generates a rig.conf file with your credentials. You can either edit this file directly on the USB (mount it after flashing), or let the rig boot and enter credentials through the local console.
First boot takes 2-3 minutes as HiveOS configures itself and connects to your farm. Once online, your worker appears in the dashboard with basic stats: GPU count, driver version, system temperature. At this point, nothing is mining yet — you need to create and apply a flight sheet.
Quick math: A 6x RX 580 rig draws roughly 750W. At $0.12/kWh, that’s $2.16 daily or $65 monthly in electricity. The $3 HiveOS fee adds 4.6% to your operating costs. For a 3-rig setup paying $9/month, you’re looking at about $200 monthly in electricity plus the HiveOS subscription. Keep these numbers in mind when calculating solo mining profitability.
GPU Driver Installation and Configuration
HiveOS automatically installs AMD or NVIDIA drivers based on detected hardware. For AMD cards, it uses the AMDGPU-Pro driver. For NVIDIA, the standard Linux driver. In most cases, the default installation works fine.
However, some older AMD cards need specific driver versions for optimal performance. You can override the automatic driver in Settings > AMD Driver Version. I typically stick with the latest stable version unless testing shows a hashrate improvement with an older driver.
NVIDIA cards generally work with any recent driver. The main consideration is CUDA version compatibility with your mining software. Most modern miners (T-Rex, lolMiner, NBMiner) support recent CUDA versions without issues.
Creating a Flight Sheet for Solo Mining Configuration
Flight sheets are HiveOS’s configuration system for mining. A flight sheet specifies: which coin to mine, which miner software to use, and what pool/server to connect to. For solo mining, that last part requires custom configuration.
Navigate to Flight Sheets and click “Create Flight Sheet”. Choose your coin from the dropdown. Here’s where it gets tricky for solo miners: the coin list assumes pool mining. If you’re solo mining Ravencoin or Ergo or Kaspa, select that coin anyway — we’ll override the pool settings in a moment.
For the miner selection, choose based on your hardware and the coin’s algorithm. For KAWPOW (Ravencoin), T-Rex or NBMiner work well. For Autolykos (Ergo), lolMiner or NBMiner. For KHeavyHash (Kaspa), lolMiner or Team Red Miner for AMD cards.
Important detail: Some popular mining software isn’t available in HiveOS’s default miner list. T-Rex Miner is included, but if you want to use something specific like SRBMiner-Multi or a custom fork, you’ll need to add it as a custom miner. More on that below.
Configuring the Wallet and Pool Fields for Solo Mining
The Wallet field should contain your cryptocurrency address where block rewards will be sent when you solve a block. Use an address you control — not an exchange address, since you might be waiting weeks or months between blocks. A local wallet or hardware wallet makes sense.
The Pool URL field is where solo mining configuration differs from standard setups. Instead of entering a pool URL like “pool.example.com:3333”, you enter your own node’s address or your stratum proxy address.
If you’re running a full node with built-in stratum support (like some altcoin nodes), the format is typically: stratum+tcp://YOUR_NODE_IP:PORT. The exact port depends on your node’s configuration — check the node’s config file.
More commonly, you’ll run a stratum proxy that bridges between your miner and your node. Your setup then looks like: HiveOS GPU rig → Stratum Proxy → Full Node. The stratum proxy handles the mining protocol while your node validates blocks. In this case, your Pool URL points to the proxy: stratum+tcp://PROXY_IP:PROXY_PORT.
For the Pool Password field, most solo mining setups don’t require authentication. Enter “x” or leave it as the default. Some custom node configurations might need a specific password — check your node’s documentation.
Custom Miner Configuration and Extra Arguments
The “Extra config arguments” field is where you add miner-specific parameters. For solo mining, certain arguments become essential.
For T-Rex Miner on NVIDIA GPUs, a basic solo mining config looks like:
--no-watchdog --solo
The --solo flag tells T-Rex you’re mining solo, affecting how it handles difficulty and share submission. The --no-watchdog disables the automatic restart feature, which can cause issues with long solo mining sessions without valid shares.
For TeamRedMiner on AMD GPUs, solo configuration might include:
--pool_no_ensub
This disables the extranonce.subscribe call that some pool protocols use but your solo node might not support.
Each mining software has different requirements for solo mining. Check the miner’s official documentation for solo-specific flags. I maintain a spreadsheet with tested configurations for different miner/coin combinations — it saves time when switching coins.
Managing Multiple GPU Rigs Remotely Through HiveOS
Once you have multiple workers configured, HiveOS’s remote management features become really practical. The dashboard shows all rigs at a glance: total hashrate, power consumption, which GPUs are running, any errors or warnings.
When a GPU crashes or produces invalid shares, you see it immediately. HiveOS displays the affected GPU with a red indicator. Click through to that worker, check the detailed logs, and diagnose the issue. In many cases, it’s overclocking pushed too far or memory instability. You can adjust the overclock settings without touching the physical machine.
Flight sheet switching lets you change coins across all rigs simultaneously. Testing whether Ergo or Ravencoin gives better solo mining odds with your hashrate? Create flight sheets for both, switch back and forth, monitor your nonce submission rate and GPU efficiency. This flexibility matters for solo miners who chase a top probability/reward ratio.
Setting Up Overclocking Profiles Per Algorithm
Different algorithms need different overclock settings. A RX 580 mining Autolykos (Ergo) runs optimally at different core/memory settings than the same card mining KAWPOW (Ravencoin).
HiveOS lets you save overclocking profiles and associate them with flight sheets. When you switch from Ergo to Ravencoin, the system automatically applies the appropriate overclock. This prevents the common mistake of switching algorithms but forgetting to adjust clocks, resulting in lower hashrate or instability.
For AMD RX 580s on Autolykos, my typical settings: Core 1150 MHz, Memory 2000 MHz, Core Voltage 850 mV. This delivers roughly 95 MH/s per card at 110W power draw.
Same cards on KAWPOW: Core 1200 MHz, Memory 2100 MHz, Core Voltage 875 mV. About 13 MH/s per card at 120W.
These numbers vary by card manufacturer and silicon lottery. Start conservative, monitor for invalid shares and crashes, then incrementally push clocks higher. HiveOS makes this testing process manageable because you can adjust settings and immediately see the impact without rebooting or editing config files.
Temperature and Power Monitoring for Long-Term Stability
Solo mining means running your rig continuously — in many cases for extended periods before hitting a block, though results vary significantly based on your hashrate and network conditions. Stability matters more than squeezing out the last 2% hashrate. HiveOS’s monitoring catches problems before they cause downtime.
Set temperature triggers in the worker settings. If any GPU exceeds your threshold (I use 70°C for AMD cards, 65°C for NVIDIA), HiveOS can automatically reduce power limit or increase fan speed. For solo mining, I prefer conservative cooling — slightly higher electricity costs beat thermal throttling or reduced hardware lifespan.
Power consumption monitoring helps verify your profit calculations. HiveOS shows both total rig power and per-GPU power draw. Compare these numbers to your electricity meter to account for PSU efficiency losses. A rig showing 750W in HiveOS might pull 850W at the wall with an 88% efficient power supply.
Installing Custom Mining Software for Solo Mining
Some mining software isn’t included in HiveOS’s default selection. If you want to use a specific miner version, a custom fork, or alternative software, you’ll need to install it manually.
HiveOS supports custom miner installation through URLs. Navigate to Flight Sheets, click the Settings icon next to the miner dropdown, and select “Setup Miner Config”. Choose “Custom Miner” and provide the download URL for the miner archive.
The miner archive must be a .tar.gz file containing the executable and any required libraries. Most miners publish Linux versions on their GitHub releases page. Download the link, add it to HiveOS’s custom miner configuration, and create a flight sheet using that custom miner.
Example: Installing a specific version of lolMiner for testing. Get the download URL from the GitHub releases page, add it as a custom miner named “lolMiner-test”, then create a flight sheet referencing this custom miner. Your command-line arguments go in the flight sheet’s extra config field.
Custom miners require more setup but give you flexibility. When a new miner version promises 5% better efficiency for your target algorithm, you can test it immediately without waiting for HiveOS to add it to their official list.
Monitoring Solo Mining Progress and Diagnosing Issues
Solo mining generates far fewer “shares” than pool mining, which makes monitoring different. Your miner might run for hours showing zero accepted shares — that’s normal. You’re only submitting when you find a share that meets the network difficulty, which for most coins happens rarely with typical GPU hashrates.
HiveOS displays your miner’s output in the worker logs. For solo mining, focus on: hashrate stability, GPU health, and whether your miner is successfully connecting to your node or proxy. The absence of accepted shares isn’t an error — it’s expected behavior.
Important detail: Configure your stratum proxy to use a lower difficulty for share submission. This generates more “invalid” shares (shares that meet the proxy difficulty but not the network difficulty), which helps verify your setup is working correctly. You want to see regular share submissions to the proxy, even if none of them are actual block solutions.
Common Configuration Mistakes and How to Fix Them
Problem: Miner shows high hashrate but zero shares submitted after several hours. Check your pool URL — you might be pointing to a non-existent address or wrong port. Verify your node or proxy is actually running and accessible from your mining rig’s network.
Problem: GPUs crash or produce invalid shares constantly. Your overclock is too aggressive. Reduce memory and core clocks by 50 MHz, test for stability, then incrementally increase. Solo mining needs stability over peak performance.
Problem: HiveOS dashboard shows rig offline but the physical machine is running. Network connectivity issue or HiveOS agent crash. Check if the rig can ping external addresses. Reboot the worker through the physical machine if needed — sometimes the HiveOS monitoring agent stops reporting while mining continues normally.
Problem: Miner connects to your proxy but your node never receives work. Proxy configuration error. Verify your proxy is correctly connected to your node’s RPC interface. Check node logs for connection attempts from the proxy.
Cost Analysis: Is HiveOS Worth It for Solo Mining Operations?
Here’s what the numbers say for a typical solo mining setup. Let’s analyze a 3-rig operation, each rig with 6x RX 580 GPUs mining Ravencoin.
Hardware: 18x RX 580 cards = ~234 MH/s on KAWPOW
Power: 3 rigs × 800W = 2,400W = 57.6 kWh daily
Electricity cost at $0.12/kWh: $6.91 daily, $207 monthly
HiveOS subscription: $9 monthly (3 rigs × $3, first rig free)
Total monthly operating cost: $216. The HiveOS subscription represents 4.2% of your total costs.
Without HiveOS, you’d run Windows or a manual Linux setup. That eliminates the $9 monthly fee but adds other costs: more time troubleshooting, potential downtime when problems occur while you’re not physically near the rigs, and manually configuring everything when you want to switch coins or test different settings.
For me, HiveOS pays for itself in saved time. One avoided trip to check why a rig went offline saves more than $3 in time and gas money. Remote overclocking adjustment prevents hours of lost mining time. But if you’re running a single rig in your room where you can monitor it directly, Windows with MSI Afterburner might make more sense financially.
Alternative Management Solutions for Solo Miners on a Budget
SimpleMining OS offers similar features with a different pricing structure. RaveOS is another option. For DIY enthusiasts, a manual Linux setup with monitoring scripts costs nothing but requires more technical knowledge.
The middle ground: Use HiveOS for remote rigs where management convenience matters, and run Windows for rigs you can physically access easily. This hybrid approach minimizes subscription costs while keeping management tools where you need them most.
Real-World Performance: What to Expect from Solo Mining with HiveOS
I’ve been running solo mining setups through HiveOS for about eight months now, focusing mainly on Ravencoin and occasionally Ergo. The remote management proved valuable faster than expected. Two weeks after setting up a rig at a friend’s place (split electricity costs), one GPU started producing invalid shares. Without HiveOS, I wouldn’t have noticed until a much bigger problem developed.
Quick math on actual solo mining outcomes: With 234 MH/s on Ravencoin (current network hashrate around 6.5 TH/s), you have roughly a 0.0036% chance of finding each block. Ravencoin’s block time is 1 minute. That works out to approximately one block every 17.4 days on average. In practice, variance means you might hit two blocks in a week, then nothing for a month.
Current RVN price: $0.005234 per coin, with a block reward of 2,500 RVN. The numbers make sense if you’re prepared for variance and have electricity costs under $0.10/kWh. Above that, the math gets tight.
HiveOS’s monitoring helped catch three instances where my internet connection dropped briefly, disconnecting the rigs from my proxy. Each time, I received a mobile notification within minutes and could investigate. Without that immediate feedback, the rigs might have sat idle for hours.
Honest Assessment of Solo Mining Profitability with GPU Rigs
GPU solo mining works mathematically for coins with the right combination of: reasonable network hashrate relative to your hardware, decent block rewards, and good price stability. Ravencoin, Ergo, and Flux fit this profile currently. Bitcoin and Ethereum (if it were still mineable) don’t — the network hashrate makes GPU solo mining essentially hopeless.
The risk: You might run for months without finding a block, burning electricity the entire time. Your 6x RX 580 rig consuming $207 monthly in electricity needs to hit a Ravencoin block at least once every 6 weeks to break even at current prices. That’s statistically likely with sufficient hashrate, but not guaranteed.
The reward: When you do hit a block, you get the entire reward. No pool fees, no waiting for confirmations through a pool’s system. The block reward goes directly to your wallet once the blockchain confirms it.
HiveOS doesn’t change these economics — it just makes managing the mining process more convenient. Whether that convenience justifies $3 per rig monthly depends on your situation. For multi-rig operations or remote setups, absolutely. For a single rig you can monitor directly, maybe not.
Security Considerations for Remote Mining Management
Running HiveOS means your mining rigs connect to HiveOS’s servers for management. Your configuration, stats, and monitoring data flow through their infrastructure. For most solo miners, this poses minimal risk — you’re not exposing wallet private keys or significant funds.
However, consider: If someone gains access to your HiveOS account, they can reconfigure your rigs, change wallet addresses, or shut down your operation. Enable two-factor authentication on your HiveOS account. Use a unique password not shared with other services.
Network security matters too. Your mining rigs connect to your node or proxy, which connects to your full node. If running everything on the same local network, ensure your router’s firewall is properly configured. Don’t expose your node’s RPC port directly to the internet — use a VPN or proxy server if you need external access.
For the paranoid (and in solo mining, paranoia can be healthy): Run your full node on a separate machine from your mining rigs. Use a dedicated wallet for block rewards, and regularly transfer funds to cold storage. The less value sitting in hot wallets, the less attractive your setup becomes to potential attackers.
Frequently Asked Questions
Can I configure HiveOS to mine solo to multiple different cryptocurrencies simultaneously?
No, each HiveOS worker runs one flight sheet at a time, meaning one coin per rig. However, you can quickly switch between flight sheets to test different coins or adjust your strategy based on network conditions. If you have multiple workers, each can run a different flight sheet — rig 1 solo mining Ravencoin, rig 2 solo mining Ergo, for example. Some miners support algorithm switching, but for solo mining this creates complications with node connections. Better to commit each rig to one coin and switch manually when needed.
How do I connect HiveOS to my Bitcoin Core node for solo mining?
Bitcoin solo mining with GPUs isn’t practical — the network uses SHA-256 which requires ASIC miners. However, the technical process would be: Run a stratum proxy that connects to your Bitcoin Core node, then point your HiveOS flight sheet to that proxy’s address. The proxy URL format would be stratum+tcp://YOUR_PROXY_IP:PROXY_PORT. For GPU-mineable coins like Ravencoin or Ergo, the same principle applies — proxy bridges between your mining software and your node.
Does HiveOS support monitoring solo mining probability and expected time to block?
No, HiveOS doesn’t calculate solo mining statistics. It shows hashrate, shares submitted, and hardware stats, but doesn’t provide probability calculations or expected time to find a block. You need to calculate this separately using your hashrate, the network hashrate, and the block time. Formula: Expected blocks per day = (Your hashrate / Network hashrate) × (1440 / Block time in minutes). For more detailed analysis, I use a spreadsheet that factors in electricity costs, current coin price, and variance calculations.
What happens if my internet connection drops while solo mining with HiveOS?
Your rigs stop mining when they lose connection to your node or proxy. HiveOS will show the workers as offline in your dashboard. The miners themselves keep running but can’t submit work without network connectivity. When the connection restores, mining resumes automatically — no manual intervention needed. However, you lose potential hashing time during the outage. For this reason, stable internet matters more for solo mining than pool mining, where the pool might cache work briefly. Set up connection monitoring and alerts so you know immediately when connectivity drops.
Can I run HiveOS from an SSD instead of a USB drive for better reliability?
Yes, and I actually recommend it for long-term solo mining rigs. Flash HiveOS to a small SSD (120GB is plenty) using the same process as USB installation. Boot times improve significantly, and you eliminate the risk of USB drive failure from constant read/write operations. SSDs cost more upfront but last much longer. For rigs running 24/7 for months chasing that solo block, the extra reliability justifies the cost. A basic SATA SSD runs about $20-25 and should last years compared to USB drives that might fail after months of continuous use.