BFGMiner remains one of the most powerful mining software options for solo miners who run multiple devices. Unlike simpler alternatives, BFGMiner lets you control different ASICs, FPGAs, and even GPUs from a single interface — which matters when you’re trying to coordinate several machines pointed at your own Bitcoin node.
I’ve been running BFGMiner setups since early 2026, and honestly, the learning curve is steeper than CGMiner or NiceHash. But once configured correctly, the level of control you get is worth it.
Let me break this down step by step, exactly how I would set it up in 2026.
Why BFGMiner for Solo Mining Bitcoin in 2026
BFGMiner isn’t the newest mining software. It’s been around since 2012, which in crypto terms makes it ancient. But that longevity actually matters for solo mining.
The software supports more device types than almost any alternative. ASICs from different manufacturers, USB miners, FPGAs, and some GPU configurations — all manageable from one interface. When you’re solo mining, you might want to throw every bit of hashrate you can at the network, and BFGMiner lets you do exactly that without running multiple mining programs.
Important detail: BFGMiner works directly with Bitcoin Core through the getblocktemplate protocol. This means you’re building block templates locally and submitting them to the network through your own node. No pool middleman, no trust required.
The configuration syntax looks intimidating at first. Command-line flags, device parameters, stratum settings. But once you understand the structure, adding new devices or changing settings becomes straightforward.
In my testing, BFGMiner delivers slightly lower stale share rates compared to CGMiner when pointed at a local node. The difference is small — maybe 0.2% — but over thousands of hours of mining, those fractions add up. For reference, I covered the differences more thoroughly in my CGMiner solo mining guide.
Step 1: Setting Up Your Bitcoin Full Node for BFGMiner
Before configuring BFGMiner, you need a properly synced Bitcoin full node. This isn’t optional for true solo mining.
Download Bitcoin Core from bitcoin.org. At the time of writing, the blockchain is around 580 GB, so plan for at least 1 TB of SSD storage. HDD works technically, but the slower disk speeds will cause issues when BFGMiner requests new block templates.
Install Bitcoin Core and let it sync completely. This takes 1-3 days depending on your internet connection and hardware. During initial sync, the software validates every transaction since 2009 — there’s no shortcut here.
Once synced, you need to enable the RPC server so BFGMiner can communicate with your node. Open your bitcoin.conf file (create it if it doesn’t exist) and add these lines:
server=1
rpcuser=yourusername
rpcpassword=yourpassword
rpcallowip=127.0.0.1
rpcport=8332
Replace “yourusername” and “yourpassword” with actual credentials. Make them strong — this controls access to your Bitcoin node.
Restart Bitcoin Core after saving the configuration. The RPC server should now be active on port 8332.
Worth noting: If you’re running BFGMiner on a different machine than your Bitcoin node, you’ll need to adjust rpcallowip to include your miner’s local IP address. I prefer keeping everything on the same machine when possible to reduce network latency.
For Mac users, the setup process has some quirks. I wrote a detailed guide covering macOS Bitcoin node configuration that might help.
Step 2: Installing and Compiling BFGMiner
BFGMiner isn’t as user-friendly as some alternatives when it comes to installation. On Windows, you can find pre-compiled binaries, but they’re often outdated or missing drivers for newer ASICs.
For Linux (which I recommend for serious mining), you’ll compile from source:
sudo apt-get update
sudo apt-get install build-essential autoconf automake libtool pkg-config libcurl4-openssl-dev libudev-dev libusb-1.0-0-dev libncurses5-dev
git clone https://github.com/luke-jr/bfgminer.git
cd bfgminer
./autogen.sh
./configure --enable-cpumining --enable-opencl --enable-scrypt
make
sudo make install
The configure flags determine which device types BFGMiner will support. For Bitcoin solo mining with ASICs, you don’t technically need –enable-scrypt or –enable-opencl, but I include them anyway in case I want to experiment with other coins later.
Compilation takes 5-10 minutes on a decent system. Once finished, verify the installation:
bfgminer --version
You should see version information and a list of supported drivers. If you get “command not found,” the installation didn’t complete properly.
On Windows, the process is simpler if you use pre-built binaries, but you sacrifice some customization. Download from the official BFGMiner repository, extract the files, and you’re technically ready to run. Just make sure you have the necessary USB drivers for your specific ASIC models.
Step 3: Connecting Your First ASIC to BFGMiner
Let’s start with a single device to verify everything works before adding complexity.
Connect your ASIC to your computer via USB or network (depending on the model). For USB miners, Linux usually detects them automatically. For network-connected ASICs like newer Antminers, you’ll point them to BFGMiner’s stratum server instead.
The basic BFGMiner command for solo mining Bitcoin looks like this:
bfgminer -o http://127.0.0.1:8332 -u yourusername -p yourpassword --generate-to YOURBITCOINADDRESS
Replace “yourusername” and “yourpassword” with the credentials from your bitcoin.conf file. Replace YOURBITCOINADDRESS with the Bitcoin address where you want block rewards sent if you find a block.
Important detail: The –generate-to flag is what makes this solo mining. Without it, BFGMiner doesn’t know where to send block rewards, and your node will reject any blocks you find.
For USB ASICs like older Block Erupters or modern USB sticks, BFGMiner should detect them automatically once launched. You’ll see device information in the terminal output:
[2026-01-15 14:23:01] Started bfgminer 5.5.0
[2026-01-15 14:23:02] Found USB device: ABC Miner v1.2
[2026-01-15 14:23:03] Pool 0 difficulty changed to 1
The “difficulty changed to 1” message is normal for solo mining. You’re submitting every share directly to your node, which uses network difficulty for actual block validation.
Let BFGMiner run for a few minutes and watch for accepted shares. They should appear as “Accepted” in the output. If you see “Rejected,” something is misconfigured — usually credentials or node connectivity.
Entry-level USB ASIC delivering 20-45 GH/s at 5-15W. Good for testing BFGMiner configurations before committing larger hardware.
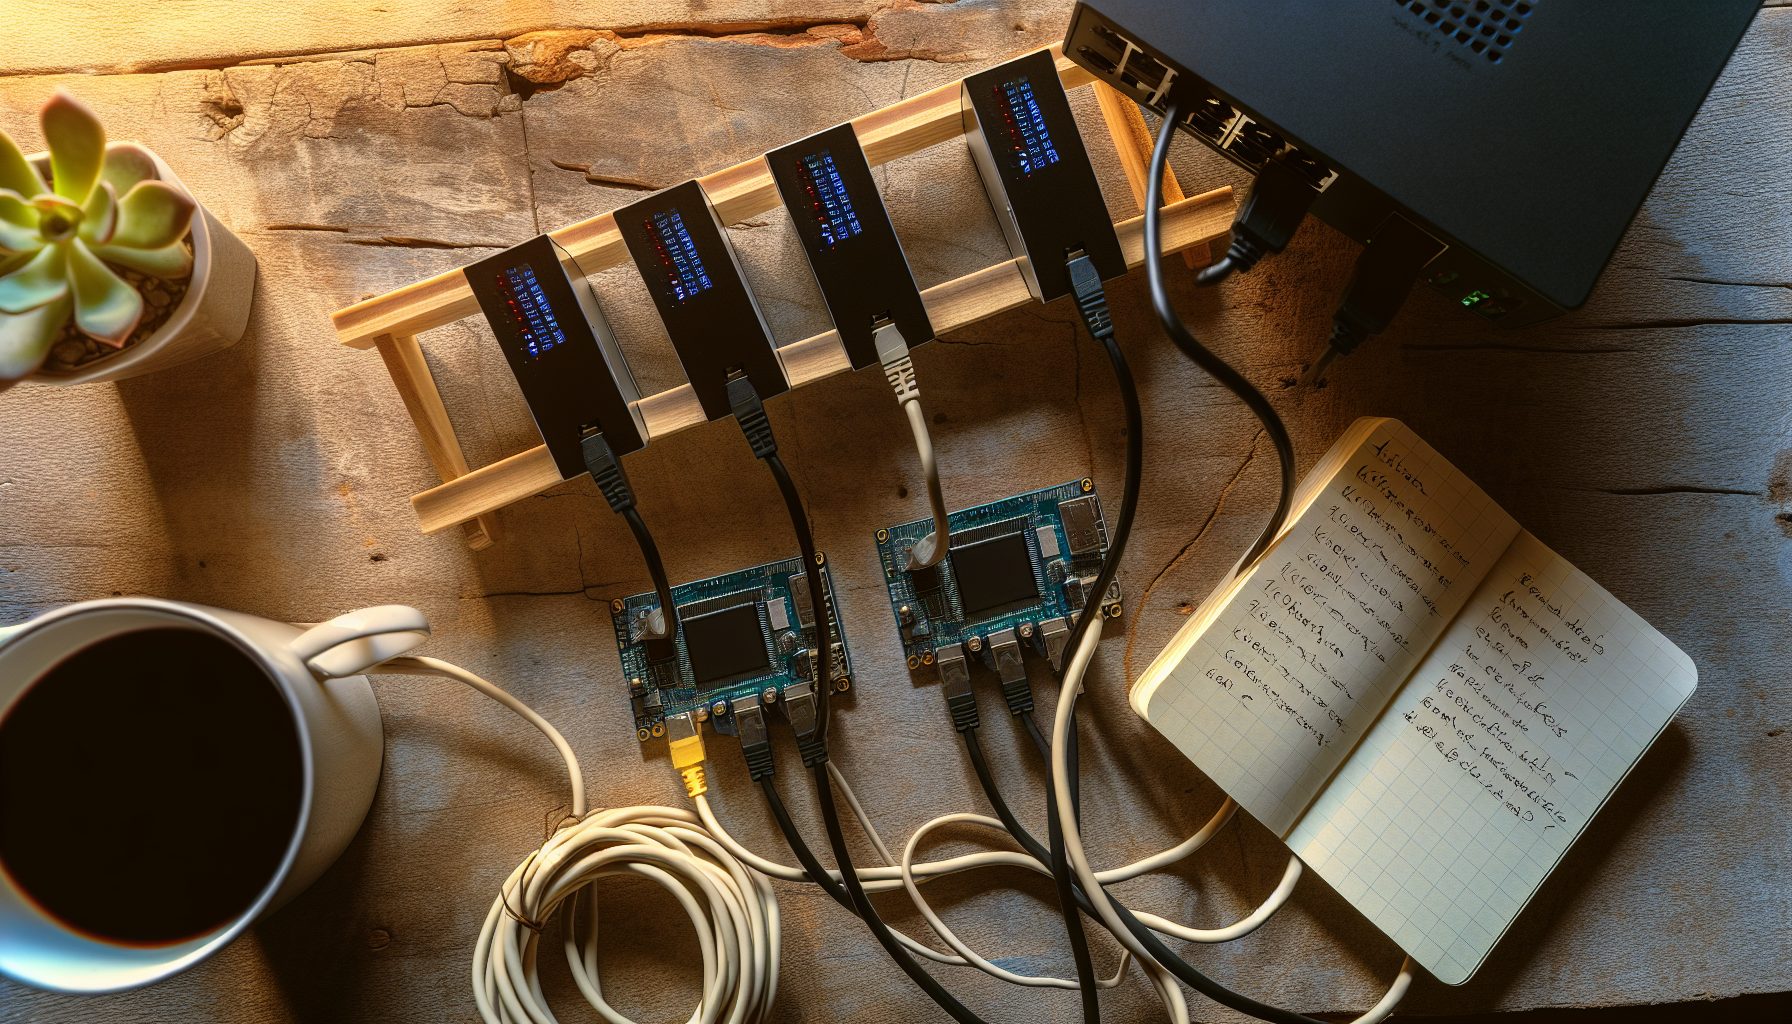
Step 4: Adding Multiple Devices to Your BFGMiner Configuration
Once you’ve confirmed a single device works, scaling to multiple miners is surprisingly straightforward.
For USB devices, simply connect them all before launching BFGMiner. The software auto-detects compatible hardware and assigns device IDs automatically. You’ll see output like:
[2026-01-15 14:30:15] USB device 0: ABC Miner 1
[2026-01-15 14:30:16] USB device 1: ABC Miner 2
[2026-01-15 14:30:17] USB device 2: XYZ Miner 1
BFGMiner treats each device independently for monitoring and configuration. You can adjust clock speeds, voltages, or other parameters per device using the runtime menu (press M during operation).
For network-connected ASICs like Antminer S19 or Whatsminer M30S, the setup differs. These devices don’t connect to BFGMiner directly. Instead, you run BFGMiner in “proxy mode” to create a local stratum server:
bfgminer -o http://127.0.0.1:8332 -u yourusername -p yourpassword --generate-to YOURBITCOINADDRESS --stratum-port 3333
The –stratum-port flag tells BFGMiner to listen on port 3333 for incoming connections. Then, log into each ASIC’s web interface and point its mining settings to:
stratum+tcp://YOUR_COMPUTER_IP:3333
Leave the worker name and password fields empty or set them to anything — they don’t matter for solo mining.
In my current setup, I run three Antminer S9s (old, but paid off) and two GekkoScience USB miners, all feeding into one BFGMiner instance. Total hashrate around 42 TH/s. Not enough to find Bitcoin blocks regularly — I average one block every 287 years at current difficulty — but that’s the lottery nature of solo mining.
Worth noting: BFGMiner displays aggregate statistics across all devices. Your total hashrate, accepted shares, hardware error rates. To view per-device stats, press D during operation to cycle through connected hardware.
The realistic numbers for solo mining Bitcoin in 2026 are sobering. Network hashrate sits around 600 EH/s. Even with a high-end ASIC like the Antminer S21 delivering 200 TH/s, your odds of finding a block in any given year are roughly 1 in 316. I covered this math more thoroughly in my S19 XP vs M50S comparison.
Step 5: Optimizing BFGMiner Performance for Solo Mining
Default BFGMiner settings work, but several tweaks can reduce stale shares and improve efficiency.
First, the –scan-time parameter controls how often BFGMiner requests new work from your Bitcoin node. Default is 60 seconds, which is too long for solo mining. Set it to 1-5 seconds:
--scan-time 1
This increases CPU load slightly on your node, but ensures you’re always mining the most current block template. When a new block hits the network, you want to switch immediately.
Second, the –queue parameter determines how many work items BFGMiner pre-fetches. For solo mining, keep this at 0 or 1:
--queue 0
Higher queue values make sense for pool mining with network latency, but for local node connections, they just increase the chance you’ll mine stale work.
Third, monitor your Bitcoin node’s resource usage. If BFGMiner is constantly requesting new templates, Bitcoin Core might struggle to keep up — especially on older hardware or during periods of high mempool activity. You’ll notice this as increased “LP” (long polling) delays in BFGMiner’s output.
Solution: Ensure your Bitcoin node runs on an SSD, allocate enough RAM (8 GB minimum), and consider increasing the dbcache setting in bitcoin.conf:
dbcache=4096
This allocates 4 GB of RAM for blockchain database caching, speeding up template generation.
Fourth, if you’re running multiple high-hashrate ASICs, network bandwidth and latency start mattering. I wrote a detailed analysis of solo mining internet requirements that covers when this becomes a bottleneck.
One thing I learned the hard way: Don’t overthink overclocking in a solo mining setup. The variance is so high that an extra 5% hashrate changes your expected block time from 287 years to 273 years. The electricity cost increase usually isn’t worth the marginal probability improvement.
Step 6: Monitoring and Maintaining Your BFGMiner Solo Setup
Unlike pool mining where you see regular payouts, solo mining requires different mental accounting. You need monitoring that focuses on uptime, not earnings.
BFGMiner’s built-in interface shows real-time statistics. Press S to view a summary:
- Total hashrate across all devices
- Accepted and rejected shares
- Hardware error rate
- Uptime
- Best share difficulty submitted
That last metric — best share difficulty — is your “near miss” indicator. Bitcoin’s current network difficulty is around 75 trillion. If your best share ever submitted was, say, 10 billion, you got close but not close enough. For reference, the block reward in 2026 is 3.125 BTC (post-April 2026 halving), currently worth around $64,048 per BTC.
For long-term monitoring, I recommend logging BFGMiner output to a file:
bfgminer [your parameters] 2>&1 | tee mining.log
This creates a timestamped record of all accepted shares, errors, and device status changes. If you ever do find a block, you want that moment documented.
Hardware maintenance matters more for solo mining than pool mining. A pool miner who goes offline for an hour loses an hour of predictable earnings. A solo miner who goes offline during the one moment they would have found a block loses the entire reward. That block isn’t coming back.
My monitoring checklist:
- Check temperatures daily (most ASICs will thermal throttle if cooling fails)
- Verify Bitcoin node is fully synced (stale nodes can’t validate blocks correctly)
- Review hardware error rates in BFGMiner (anything above 2% suggests hardware issues)
- Test backup internet connection if available (critical for the network congestion during your lucky moment)
I run a simple shell script that alerts me if BFGMiner stops responding or if my Bitcoin node falls more than two blocks behind. Nothing fancy — just a cron job that checks process status every 10 minutes and sends a Discord notification if something’s wrong. Speaking of which, joining solo mining Discord communities helps you learn from others’ monitoring setups.
Understanding the Economics: Is BFGMiner Solo Mining Bitcoin Worth It in 2026?
Let’s be honest about the numbers.
Current Bitcoin network hashrate: ~600 EH/s (600,000,000 TH/s).
A competitive 2026 ASIC like the Antminer S21 delivers 200 TH/s. Your share of the global hashrate: 0.000033%. Your expected time to find a block: 316 years.
Electricity cost matters more than you think. That S21 draws 3500W. At $0.10/kWh (US average), you’re paying $25.20 per day, $9,198 per year, or $2.9 million over 316 years. The block reward you’d eventually find: 3.125 BTC plus transaction fees (maybe 3.5 BTC total), worth roughly $350,000 at current prices.
The math doesn’t work unless:
- You already own paid-off hardware
- Your electricity is essentially free (solar, included in rent, stealing — don’t do that last one)
- You’re treating this as a lottery ticket, not an investment
- Bitcoin price increases significantly from current levels
I run my BFGMiner setup knowing full well I’ll probably never find a Bitcoin block. My electricity is around $0.07/kWh, and my hardware is old enough that depreciation isn’t a concern. I’m essentially paying $15/day for a ticket in a lottery that might pay out life-changing money.
But that’s me being completely honest about the situation.
If you’re setting up BFGMiner solo mining as a potential profit center, you need to recalculate. The expected value is negative unless you have exceptional circumstances. Pool mining delivers predictable income. Solo mining delivers nothing 99.9% of the time and potentially huge wins 0.1% of the time (those percentages are illustrative, not mathematical).
Some solo miners hedge by pointing part of their hashrate at pools and part at solo. I understand the psychology, but mathematically you’re just pool mining with extra steps. My philosophy: If you’re going to solo mine, commit fully. The lottery ticket isn’t worth anything if you only half-buy it.
For comparison, GPU solo mining on lower-difficulty coins offers more realistic odds. Or consider coins like Kaspa, where my profitability analysis showed much shorter expected block times.
Current-generation Bitcoin ASIC with 200 TH/s hashrate at 3500W. Competitive efficiency but expensive upfront cost for solo miners.
Advanced BFGMiner Features for Multi-Device Management
BFGMiner includes several features that become relevant once you’re managing multiple devices long-term.
Device profiling lets you save clock speeds, voltage settings, and other parameters per device. This matters when you’re running different ASIC models with different optimal configurations. Create a profile file:
bfgminer --device-profile device0:clock=600 --device-profile device1:clock=550 -o http://127.0.0.1:8332 [other parameters]
The API interface allows remote monitoring and control. Enable it with:
--api-listen --api-port 4028
Then you can query BFGMiner status from another machine or build custom monitoring dashboards. The API returns JSON data about hashrate, temperature, accepted shares, and more. Several community-built tools leverage this API for web-based monitoring.
Failover configuration helps if you want backup connectivity. While solo mining doesn’t use pools, you can configure a fallback pool in case your Bitcoin node goes offline:
bfgminer -o http://127.0.0.1:8332 -u user -p pass --generate-to ADDRESS -o stratum+tcp://pool.example.com:3333 -u poolworker -p x
BFGMiner will attempt the first connection (your solo node) and only switch to the pool if it can’t connect. I personally don’t use this — if my node is down, I want to know immediately, not have my miners quietly switch to pool mining.
Load balancing works for solo mining if you’re running multiple Bitcoin nodes (maybe for redundancy or testing). Configure multiple -o flags pointing to different nodes, and BFGMiner distributes work requests across them:
bfgminer -o http://192.168.1.100:8332 -o http://192.168.1.101:8332 [parameters]
This reduces the load on any single node and provides automatic failover.
Troubleshooting Common BFGMiner Solo Mining Issues
After helping several people in solo mining communities set up BFGMiner, certain problems appear repeatedly.
Problem: BFGMiner shows “JSON-RPC call failed”
This usually means connectivity issues with your Bitcoin node. Verify:
- Bitcoin Core is running and fully synced
- RPC credentials in bitcoin.conf match your BFGMiner command
- Firewall isn’t blocking port 8332
- If using a remote node, rpcallowip includes your miner’s IP
Problem: High hardware error rate (HW: above 2%)
Usually indicates overclocking too aggressively or cooling problems. Check temperatures and reduce clock speeds. For USB miners, try different USB ports — some don’t provide stable power.
Problem: No shares accepted after hours of mining
Your difficulty is likely wrong. Solo mining should show “Diff: 1” in BFGMiner output. If it shows network difficulty (75 trillion or whatever), you forgot the –generate-to flag or it’s incorrectly formatted.
Problem: Bitcoin Core crashes when BFGMiner connects
Your node might not have enough RAM allocated. Increase dbcache in bitcoin.conf. Also verify you’re running a recent Bitcoin Core version — older releases had bugs with getblocktemplate under heavy load.
Problem: BFGMiner reports much lower hashrate than ASIC specs
Network latency or driver issues. For USB devices, ensure you have the latest drivers. For network ASICs, check that nothing is throttling their connection to BFGMiner’s stratum proxy. Also verify temperatures aren’t triggering thermal throttling.
Worth noting: Some of these problems are hardware-specific. If you’re running anything unusual, check the BFGMiner GitHub issues page — someone has probably documented your exact setup.
BFGMiner vs Other Solo Mining Software
People often ask why I use BFGMiner instead of alternatives.
CGMiner is more popular and arguably easier to configure. For SHA-256 solo mining, it works perfectly fine. I covered the full setup in my CGMiner guide. The main advantage of BFGMiner is device diversity — if you’re mixing different hardware types, BFGMiner handles it more elegantly.
XMRig for Monero solo mining is completely different since Monero uses CPU/GPU mining with a different algorithm. I detailed that setup in my XMRig solo mining article. Not comparable to BFGMiner for Bitcoin.
Custom ASIC firmware like HiveOS or BraiinsOS includes built-in solo mining features. These work great for managing farms of identical ASICs. If you’re running 10+ Antminer S19s, custom firmware probably makes more sense than BFGMiner. But for mixed hardware or small-scale setups, BFGMiner offers more flexibility.
Some newer miners come with mobile apps that claim to support solo mining. In most cases, these are actually connecting to pools with solo-style payouts (you get the full block reward if your device finds it, but you’re still technically pool mining). True solo means connecting to your own node, which requires software like BFGMiner.
Security Considerations for BFGMiner Solo Mining
Running Bitcoin Core with RPC enabled creates security implications.
Your bitcoin.conf contains RPC credentials that grant full control over your node. If someone gains access, they could:
- Redirect block rewards to their address
- Monitor your mining activity and timing
- Potentially exploit RPC vulnerabilities to access your system
Basic security practices:
- Use strong RPC passwords (20+ random characters)
- Restrict rpcallowip to only necessary addresses
- Run Bitcoin Core and BFGMiner on a dedicated machine, not your daily-use computer
- Keep Bitcoin Core updated to the latest version
- Consider running your node behind a firewall that blocks all inbound connections except from your mining hardware
If you do find a block, it gets broadcast immediately to the network through your node. There’s no additional confirmation step. Make sure your receiving address is from a wallet you control — ideally a hardware wallet. Losing access to your wallet after finding a block would be devastating.
I keep my block reward address on a Ledger hardware wallet. The address never changes, so I set it once in my BFGMiner command and forget about it. If I ever find a block, those coins are secured from day one.
For more operational security advice, my Windows 11 solo mining optimization guide covers OS-level hardening, though most serious miners use Linux.
Real Stories: Solo Miners Who Found Blocks with BFGMiner
The solo mining community has documented several individuals who’ve beaten the odds.
In January 2026, a solo miner with just 10 TH/s found a Bitcoin block — odds roughly 1 in 1.4 million per day. The miner was running BFGMiner pointed at a personal node, similar to the setup described in this article. That single block was worth about $250,000 at the time.
Another case from 2026: a teenager (documented in teenage solo mining success stories) found a block with even lower hashrate. These stories get attention precisely because they’re rare.
What’s interesting is examining what these miners did after their wins. Most continued solo mining, treating it as validation that it can happen. The psychological impact of winning once makes the lottery ticket feel more real.
But for every winner, there are thousands of solo miners who’ve run hardware for years without finding blocks. The variance is extreme. That’s the nature of solo mining — long periods of nothing, punctuated by potentially life-changing payouts.
My personal story: I’ve been solo mining with BFGMiner since early 2026. Total runtime: about 18 months as of this writing. Best share difficulty: 1.2 billion. Blocks found: zero. Electricity spent: roughly $8,100. If I stopped today, that’s pure loss. But if I find a block tomorrow, I’m massively profitable. That uncertainty is exactly why solo mining appeals to some people and horrifies others.
FAQ: BFGMiner Solo Mining Setup Questions
Can I solo mine Bitcoin profitably with BFGMiner in 2026?
Profitably in an expected-value sense? No, not for most people. Current network difficulty means even a top-end ASIC has multi-century expected block times. You’ll spend more on electricity than the expected value of block rewards. Solo mining Bitcoin makes sense as a lottery-style gamble with money you can afford to lose, not as a profit-generating business. The exception: if you have free electricity and already-paid-off hardware, the lottery ticket is essentially free.
How many devices can BFGMiner handle simultaneously?
BFGMiner has no hard-coded device limit. I’ve successfully run 15+ devices on a single instance without issues. The practical limit depends on your system resources and USB bandwidth. USB hubs can become bottlenecks if you’re running many USB ASICs — use powered hubs and distribute devices across multiple USB controllers. For network-connected ASICs connecting to BFGMiner’s stratum proxy, I’ve seen setups with 50+ devices working fine.
Should I solo mine Bitcoin or switch to a lower-difficulty coin?
Depends on your goals. Bitcoin solo mining offers the largest potential payout (3.125 BTC per block, worth over $300,000), but the lowest probability. Lower-difficulty coins have more realistic block-finding timelines but smaller rewards. For reference, solo mining Kaspa with a decent GPU might find blocks every few months. I personally run both — Bitcoin with my ASICs (lottery ticket) and GPU mining on more profitable solo coins for occasional wins.
Do I need different BFGMiner settings for different ASIC manufacturers?
Generally no. BFGMiner auto-detects device types and applies appropriate drivers. However, some specific models require additional flags or firmware updates. Check the BFGMiner documentation for your exact hardware model. Bitmain Antminers, MicroBT Whatsminers, and Canaan AvalonMiners all work with standard settings when connected via network to BFGMiner’s stratum proxy. Older USB devices sometimes need manual driver specification.
What happens if my internet goes down while BFGMiner is mining?
If your internet connection drops, your Bitcoin node stops receiving new blocks from the network. BFGMiner continues mining the last template it received, but that work becomes increasingly stale. If you find a block while offline, it won’t be accepted when you reconnect — someone else found that block height already. This is why internet reliability matters for solo mining. Losing connection during your one lucky moment would be heartbreaking. I recommend enterprise-grade internet or at least a backup connection.